How to install electrical outlets | Plumbing And Electrical
Installing electrical outlets into your walls is not that difficult, and can be a fun DIY job. But, before beginning, you should be aware of some safety precautions. Always turn off the electricity on a circuit before working with it. Either go to the fuse box and cut the power off (turn off all circuit breakers) or use a non-contact voltage tester to verify that it is safe to work on. But did you know that in Australia, it is a legal need to have an electrical outlet in every room? This includes hallways, bathrooms, and any other rooms that may not have a specific use. This will save you from the embarrassment of shocking yourself while installing electrical outlets into your walls. In this blog post, we will show you how to install an electrical outlet in Australia, step-by-step. We'll also provide some tips on how to avoid common mistakes made by DIYers. So, if you're looking to add an electrical outlet to your home, read on!. Stay safe and happy wiring!
Shut off the power to the outlet you're working on
If you're a homeowner doing electrical work on your own, the most important first step is to shut off the power to the outlet. I'm sure you're familiar with our slogan "when it comes to electrical work, there are a few basic rules that should always be followed." Shutting off the power to the outlet you're working on is one of them. Always double-check to make sure that you've turned off the right breaker. If you have to guess about which breaker controls a particular outlet, leave it for a qualified electrician. But is that really necessary? Can't I just be careful and avoid touching the live wires? According to safety experts, the answer is a resounding "no." In fact, it's actually very dangerous to work on an outlet without first shutting off the power. By following these simple tips, you can stay safe and avoid any potentially dangerous accidents.
Remove the old outlet cover plate
Outlet plates are not a big deal to most people, but they may cost you a lot if you don’t update them. Outlet plates play an important role in your home, as they help you identify where and what each individual socket is used for. In Australia, it is common to find old and outdated outlet cover plates in many homes. While they may not seem like a big deal, these plates can be dangerous if they are not updated. As an electrician, one of the most common tasks I perform is removing and replacing outlet cover plates. There are two ways you can remove an outlet cover plate. The easier way is to pull up on it and then wiggle out from under its lip at the bottom with your fingers or a flat screwdriver blade until there's enough space for air between them that they pop apart easily without too much force needed (about 30 pounds). The outlet cover plates, however, don’t seem like such an important item, but there is a pretty good reason why one should pay attention to them: even small objects can be hazardous if you allow them to remain exposed to electricity.
Loosen the screws that hold the outlet in place
First, you need to loosen the screws that hold your outlet in place. These are usually hidden under a plate on top of it or inside one of its legs and can be accessed by removing an access panel near where they're installed at the home base station. Once you have loosened the screws that hold your outlet in place, remove them with a socket or pliers. If there are any metal pieces left behind on top of an electrical board, use wire cutters to get rid of them so no one trips over it later!
Pull out the old outlet and disconnect the wires
When you're ready to start your renovation project, the first thing you need to do is remove the old outlet. Be careful not to damage the wires when you pull it out of the wall. Once it's out, use a wire stripper to strip off about 1/2 inch of insulation from each wire. Then use a pair of pliers to twist each wire into a loop. Finally, reattach the outlet and screw in the cover plate.
Disconnect the wires before pulling out the old outlet. There are many different ways to do this. You can cut the wire or U-shaped staples with a pair of side cutters; you can wrap it in cloth and pull with pliers; and you could even use some tape on the wire and then pull it.
Reconnect the wires to the new outlet, making sure to follow color-coding instructions
Quickly connect the wires to your new outlet, being careful not to confuse black and white or yellow with blue. A quick way of reconnecting them is by following color coding instructions which will help avoid any unwanted electrical shocks. For example: Black is used for power sources and gray or yellow. If you are not familiar with wiring, hire a licensed electrician, who will also ensure the wiring is up to code. Replace the old outlet by first turning off the power at the circuit breaker, or by flipping off the switch for the outlet itself (remembering where the switch is). Use a voltage tester to confirm that electricity is no longer flowing to the faulty outlet. Use wire cutters or pliers to remove the old wires from the back of the damaged outlet and from power source box if applicable. Remove any excess wires from inside your walls or ceiling before proceeding.
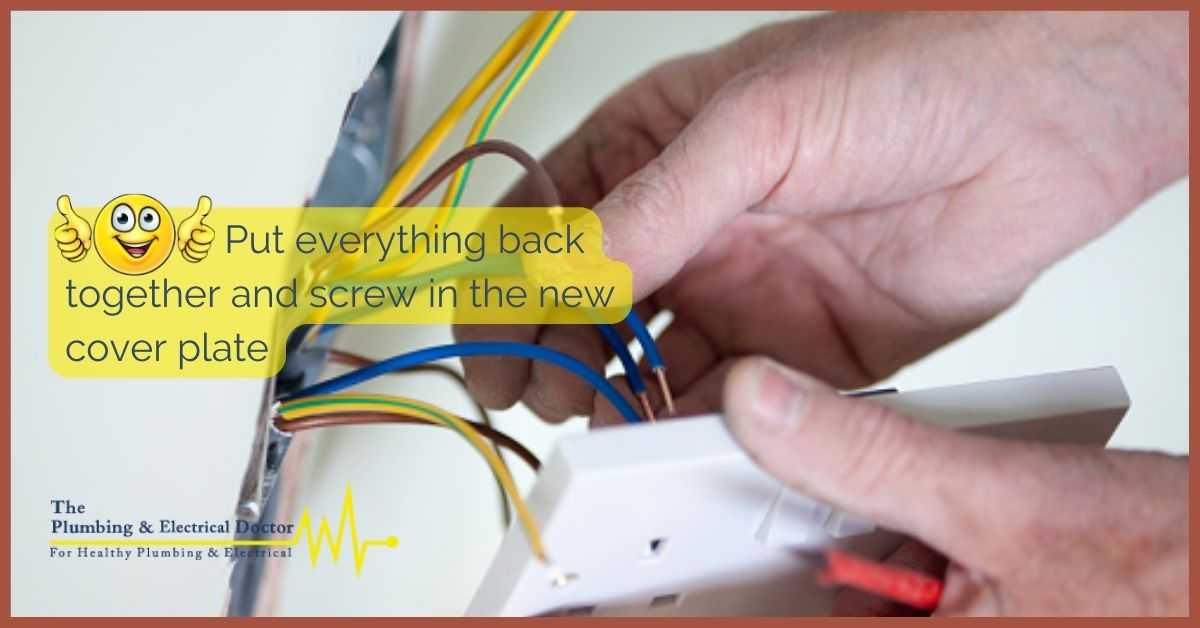
Put everything back together and screw in the new cover plate
As you begin to put everything back together, be sure to test out the new outlet by plugging in a lamp or another electrical device into it. Be sure to test it out before putting everything back together. If you have finished putting everything in and tested that your new electrical outlet is working properly, you can now screw in the new cover plate. Secure it with the new screws.